Search for answers or browse our knowledge base.
Can't find the answer you need here? Contact our support team and we'll gladly help you.
Emails: using Light Blue to send emails
Whilst you undoubtedly have your own email account did you know there’s the option of sending emails and receiving replies from within Light Blue too?
And there are lots of benefits; doing so allows you to:
🗄 Be organised: All the emails linked to a Light Blue Record (both sent and received) are kept together and readily available.
✨ Stand out: You can create great-looking on-brand emails with Light’s Blue branding features and rich formatting.
📋 Be efficient: You can include your Email Templates in Workflows allowing them to be sent automatically saving you time.
🔍 Gather insights: If you choose to use the in-built Light Blue email account, you have the ability to examine which emails are opened and which links have been clicked.
Setup
Sending emails right away
Your in-built Light Blue email account comes all set up and ready for you to use ‘out of the box’ so you’re able to send emails right away. Using this email account also gives you the ability to see which of your emails are read and which links have been clicked. And there’s the added reassurance that Light Blue has taken care of the ‘behind the scenes’ technicalities to ensure good deliverability of your emails.
The username of your email address will be the Business Name that you’ve provided Light Blue with, followed by @lightbluecustomermail.com; e.g. MyPhotographyBusiness@@lightbluecustomermail.com.
👉 If you want to customise your email username this guide explains how.
👉 This guide explains how email tracking works within Light Blue.
Using your own email account
Of course, you may prefer that emails to your clients come from your own email account; even if it means some setup before you can send them and that you lose the ability to track your emails.
👉 This guide explains how to set up your own email account in Light Blue.
Further setup
There are a few other areas you may want to review before beginning to use Light Blue for your emails. NB. If you haven’t already set up your branding and email signatures within Light Blue you probably want to do that first. 👉 Guide to setting up your branding here. 👉 And your email signature here.
- Head to the “Email” section in Preferences.
- Choose the default branding you want to use from the “Default Branding” options.
- Choose the default signature you want to use from the “Default Signature” options.
- If you want a copy of every email sent from Light Blue to also go to your own email address, add this to the “BCC Normal & Scheduled Emails To” field.
- If you want to receive the emails that are sent to your clients when they’re using features like our online contract signing service, or paying an online invoice, tick the “Automatically CC Client Portal Emails To Yourself” field to be copied in.

How to send emails
You can send emails from each of Light Blue’s main Records and they can either be created from scratch or you can choose an Email Template as a starting point; simply choose the option you want when presented with the drop-down menus in the steps below. You can even schedule the email to be sent later. 👉 Details of that here. And once an email has been sent it can be viewed in the Activity Panel of the Record it was sent from so you can refer back to it when needed.
From a Shoot Record
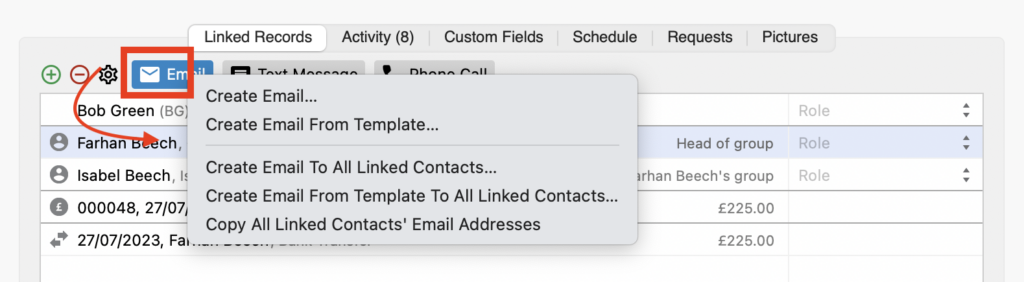
Whilst there are a few ways you can send an email from a Shoot Record, the method below allows you to not only choose whether your start point is a blank email or from an Email Template, but also whether it goes to just one Contact Record linked to the Shoot Record or all of them.
- From the Linked Records tab, click on the “✉️ Email” button to the right of the cog. NB. If you only want to send the email to one of the linked Contact Records and they’re not the top Record, make sure you’ve clicked on their details before the “✉️ Email” button.
From a Contact Record
Again whilst there are a couple of ways you can send emails from a Contact Record the method below is the most straightforward. NB. If the Contact has a linked Shoot Record, we recommend sending the email from the Shoot Record to keep all correspondence in one place and for your Shoot mail merge tags to work. Though only of course if the email is referencing that Shoot and not another subject!
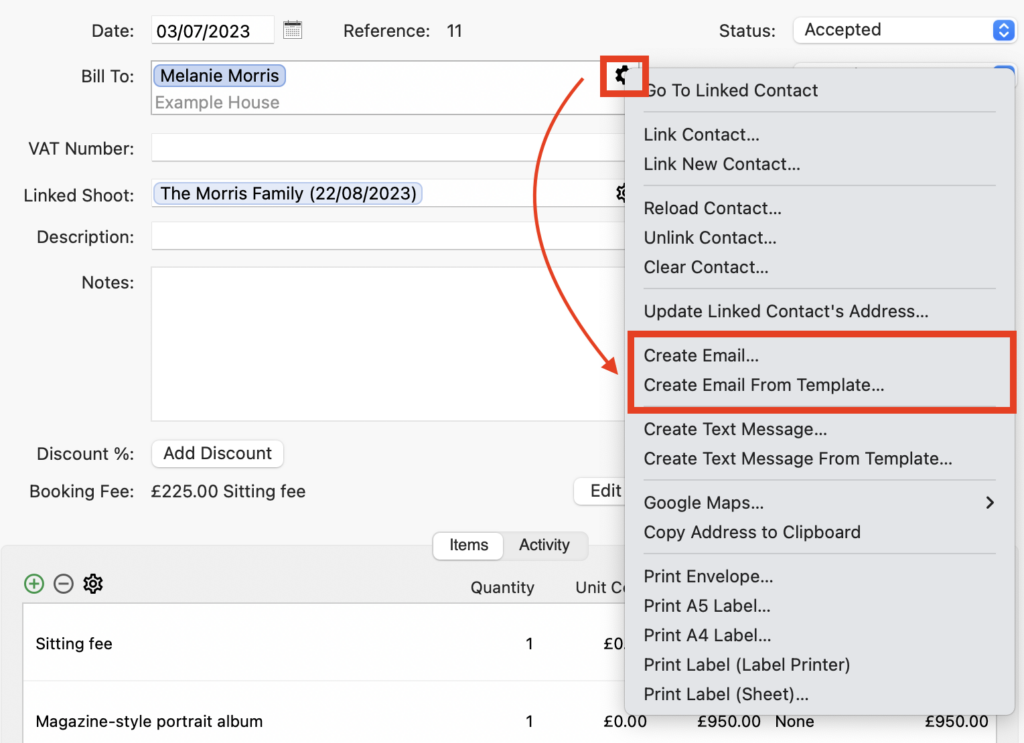
- In the Email field, hover over the email address you want to send to and click on either the mail or cog icon that appears.

From a Sales Record
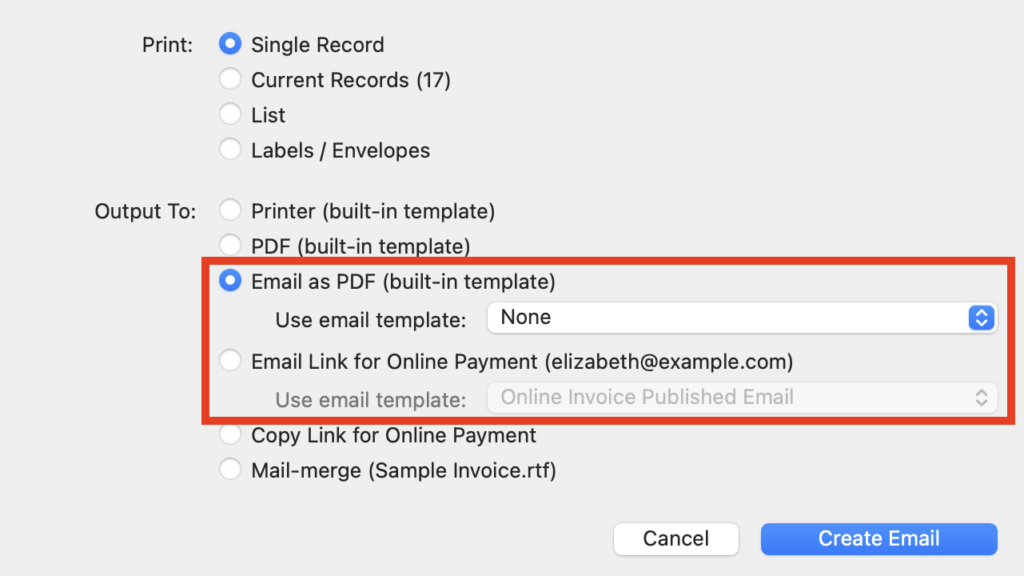
Emailing from a Sales Record allows you to send a PDF of the Sale (whether it’s been invoiced or not) or a link for Online Payment to your client.
- From the main menu bar choose “File” and “Print/Send” from the drop-down menu.
- If the Sale has not yet been invoiced tick the “Create Invoice” box if you want to create one. NB. If the Sale has already been invoiced this option won’t be given.
- Choose how you want to send the invoice; either “Email as PDF” or “Email Link for Online Payment”.
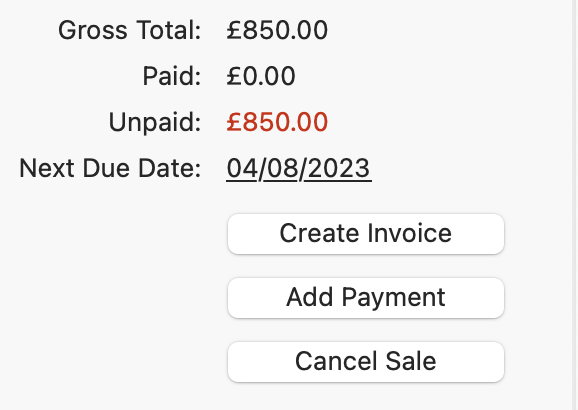
- If the Sale hasn’t yet been invoiced you can also click on the “Create Sale” button, which will take you to the same “Print/Send” dialog box with the “Create Invoice” box checked.

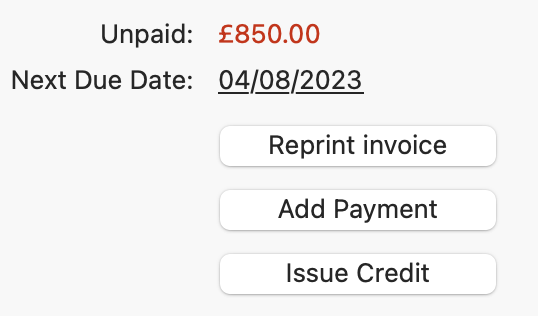
- Or if you need to resend an invoice you can click the “Reprint Invoice” button.
From other Records
Emailing from the Quote and Purchase Records allows you to send a PDF of the Record to your client/supplier.
- As well as the “Print/Send” option explained above, you can also click on the cog to the right of the “Bill To” field (Quote) or “Supplier” field (Purchase). NB. This method also works in the Sales Record.
Receiving emails in Light Blue
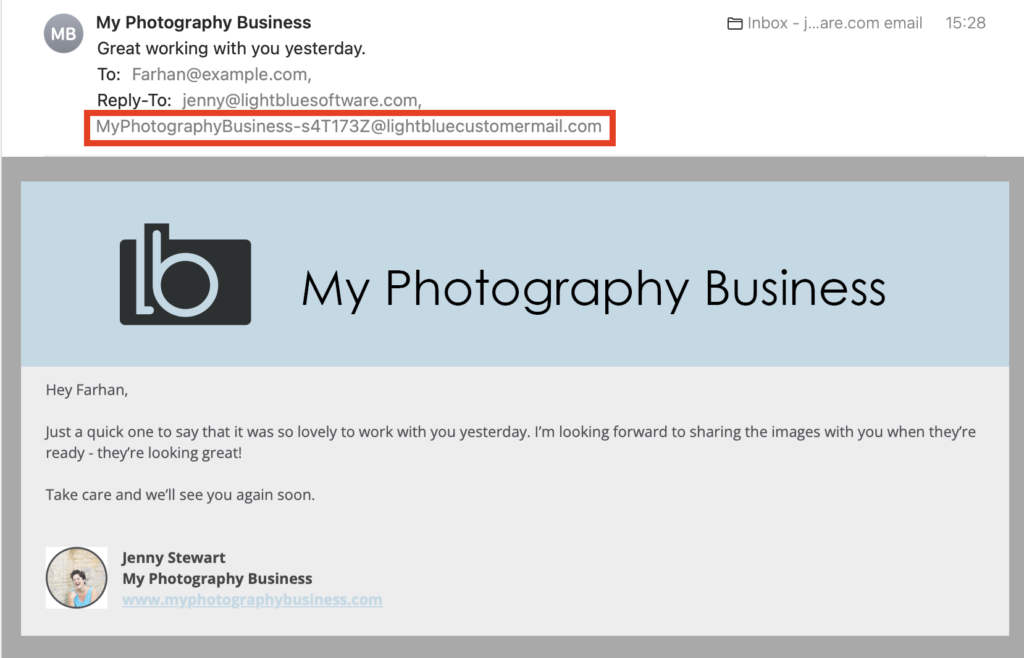
All emails that you send from one of Light Blue’s main Record types have an automatic ‘Reply-to’ email address added to them. This is the clever bit ensuring that as well as going to your own email inbox, all replies go to your Light Blue Inbox and are linked to the correct Light Blue Record; basically, each Record has its own unique number/letter suffix added to your in-built Light Blue email address. This is already set up on your account and, whilst we don’t recommend it, you can turn it off if you don’t want to take advantage of this feature.
👉 If you do turn it off but want to manually forward an email into Light Blue this guide explains how.
⭐️ Top tip: If you want to keep all email correspondence in one place make sure you reply to clients’ replies from Light Blue!
Email Templates & Workflows
Light Blue gives you a huge amount of flexibility in how your Email Templates look. The overall design, format and signatures are all customisable to your brand and by adding images, including links and using different fonts and colours, the possibilities are endless to create a stand-out email experience for your client.
And whilst you can send an Email Template through your own mail app it’s not something we’d recommend. All the hard work that you’ve put into creating a great-looking email will be lost when you open the Template in your own mail app; whereas sending it from Light Blue it’ll look exactly as you designed it.
👉 Guide to creating email templates.
👉 Tips to help make your emails stand out.
And if you use Light Blue to send emails, you can also include Email Templates in your Workflows which are automatically sent. This allows you to keep on top of your client communication, giving them great customer service without having to think about it!
👉 Using Workflows to automate your emails.
Bulk Emails
Light Blue is designed to send ‘everyday’ emails to your clients which they are expecting to receive either in reply to their enquiry or about the session they’ve booked with you.
However in situations where you want to send the same email to a number of clients at the same time; effectively a bulk email campaign with the required ‘unsubscribe’ button, you should use a mass emailing tool like Mailchimp or Active Campaign. Using that sort of tool will be more reliable than trying to use your own mail server and avoids the risks of having either your email account or the Light Blue servers flagged up as being a potential spammer.
The following help articles will guide you through our recommended approach.
👉 How can I send an email to lots of contacts
👉 Zapier: adding a specific set of contacts to your mailing list
👉 Zapier: creating zaps to update a contact’s mailing list preferences