Search for answers or browse our knowledge base.
Can't find the answer you need here? Contact our support team and we'll gladly help you.
🎥 Light Blue Contracts: an overview of how they work
Light Blue’s online contract signing service is a powerful tool that simplifies and speeds up the booking confirmation process, not only for yourself but your clients too. Definitely a win-win!
To get an overview of how they work watch the short video below; though if you prefer to learn by words and pictures, have a read of the help article instead!
Sending a Contract
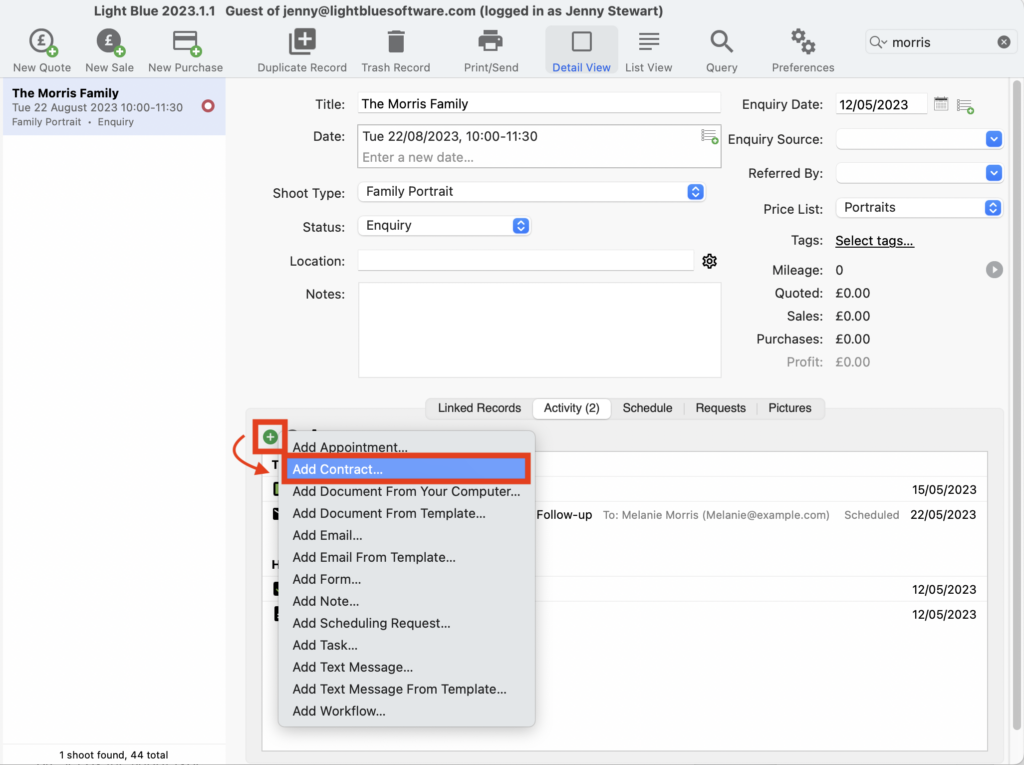
- Go to the Activity panel of the Shoot Record.
- Click on the green “+” and choose “Add Contract…” from the drop-down menu.
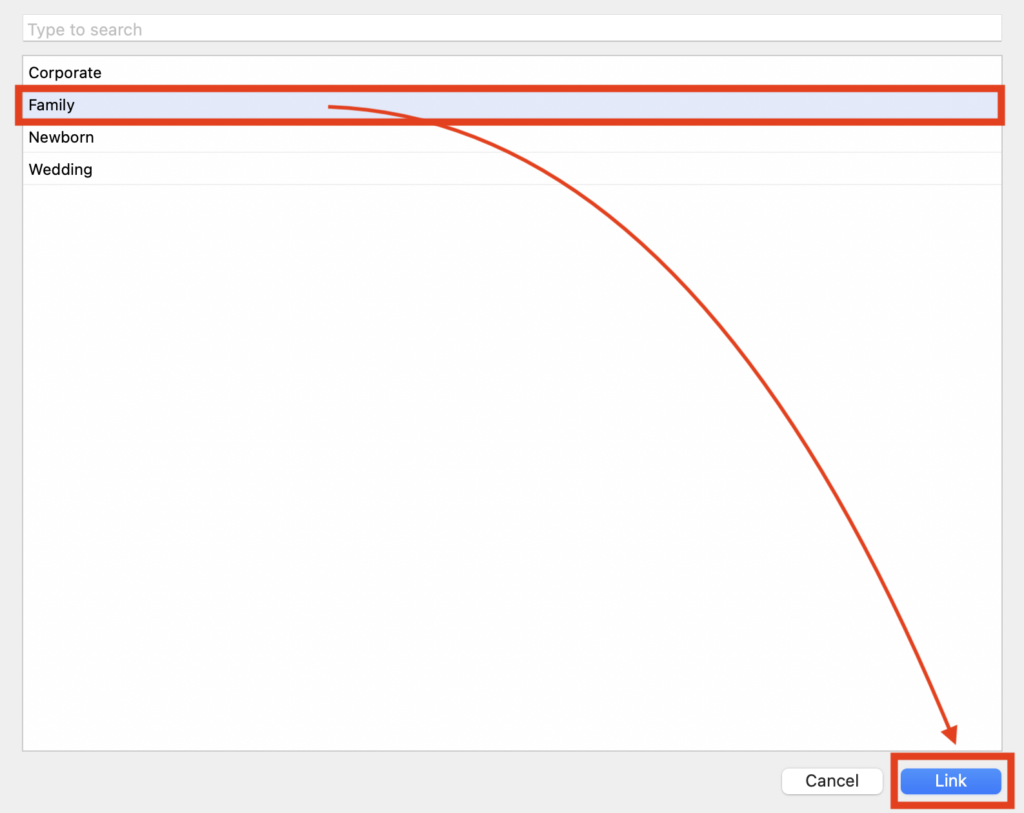
- Pick the Contract Template you wish to use and click “Link”. 👉 This help article guides you through setting up your Contract Templates/s.
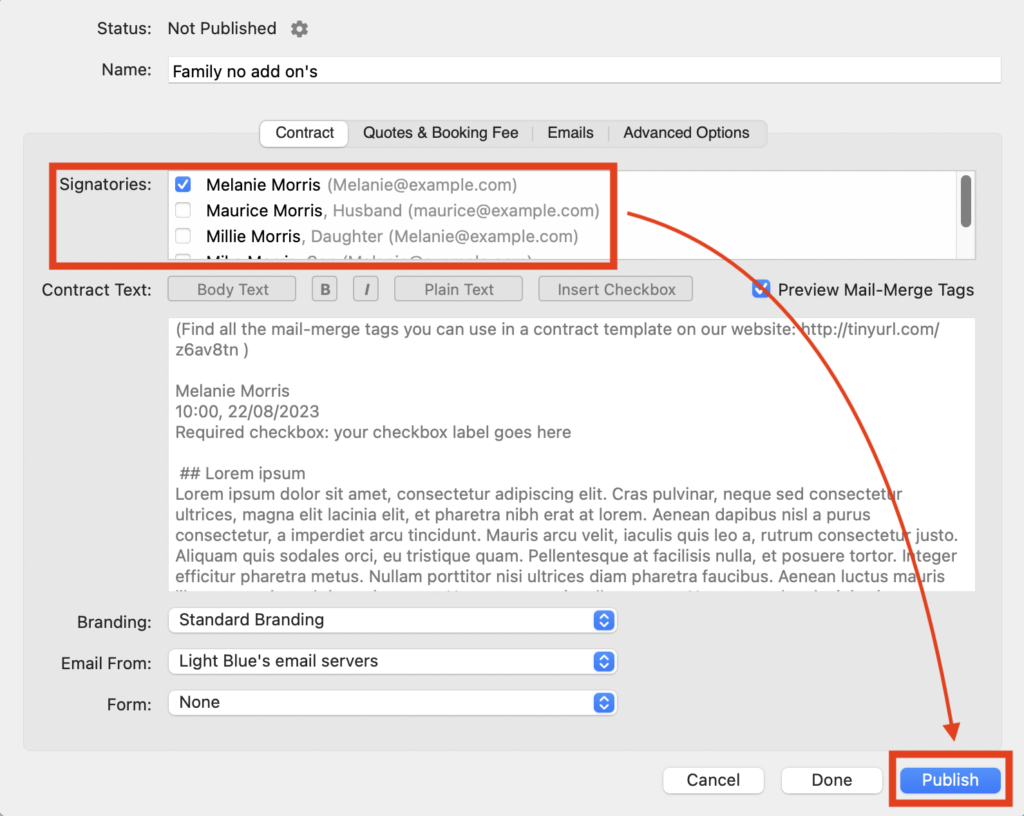
- Choose the Signatories from the list of Contact Record/s; if required you can check multiple Signatories. NB. Contact Records only appear here if they are linked to the Shoot Record with the first linked Contact Record being automatically checked when you create the Contract.
- Click “Publish” to automatically send an email to your client/s containing the link to their online Contract.
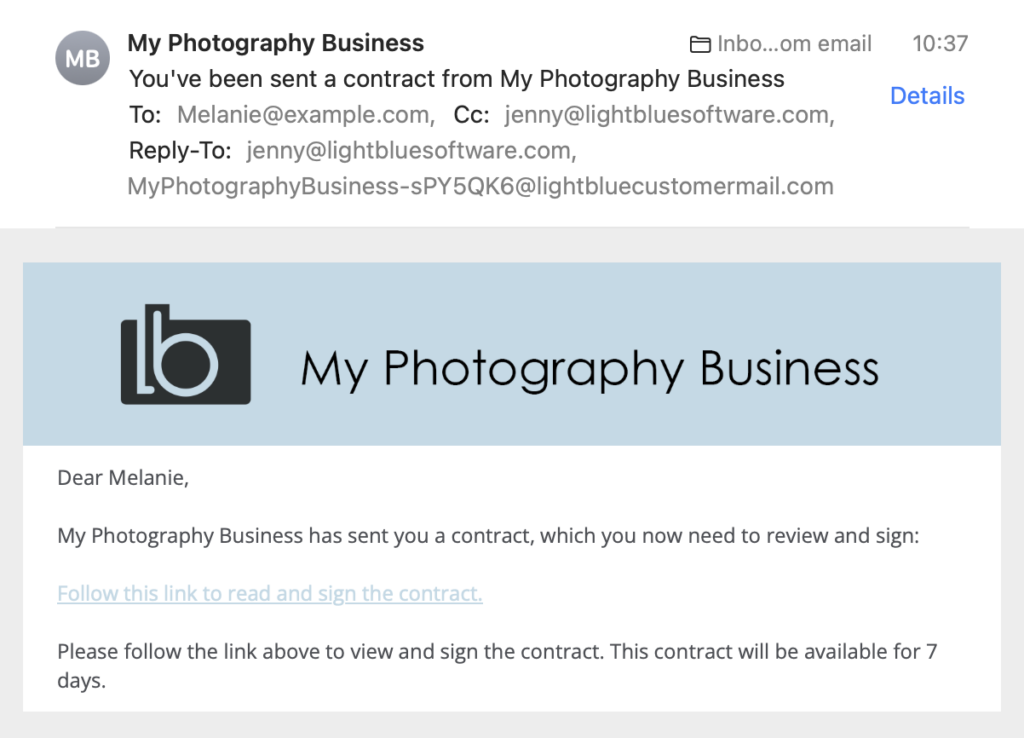
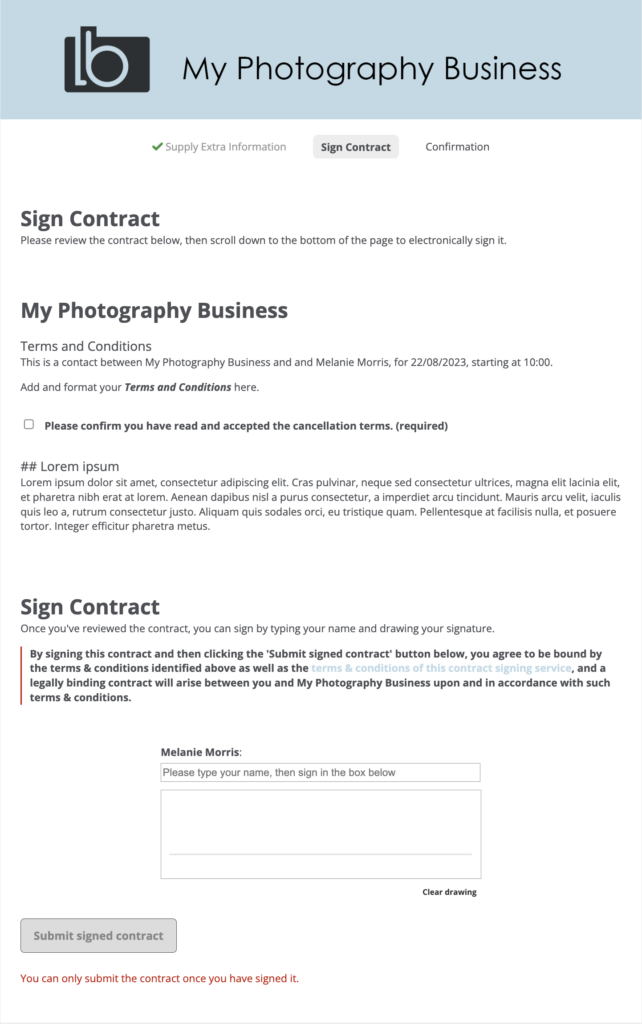
Viewing and signing a Contract
When your client receives the email it’s very straightforward for them to click the link, read the Contract and then sign it. And as you can see both the email and the online Contract can be customised to reflect your business branding. 👉 This help article guides you through setting up your online client portal branding.
Once they’ve signed the Contract they’ll receive a PDF copy of it by email. 👉 And this help article takes you through the steps to create your Contract PDF.
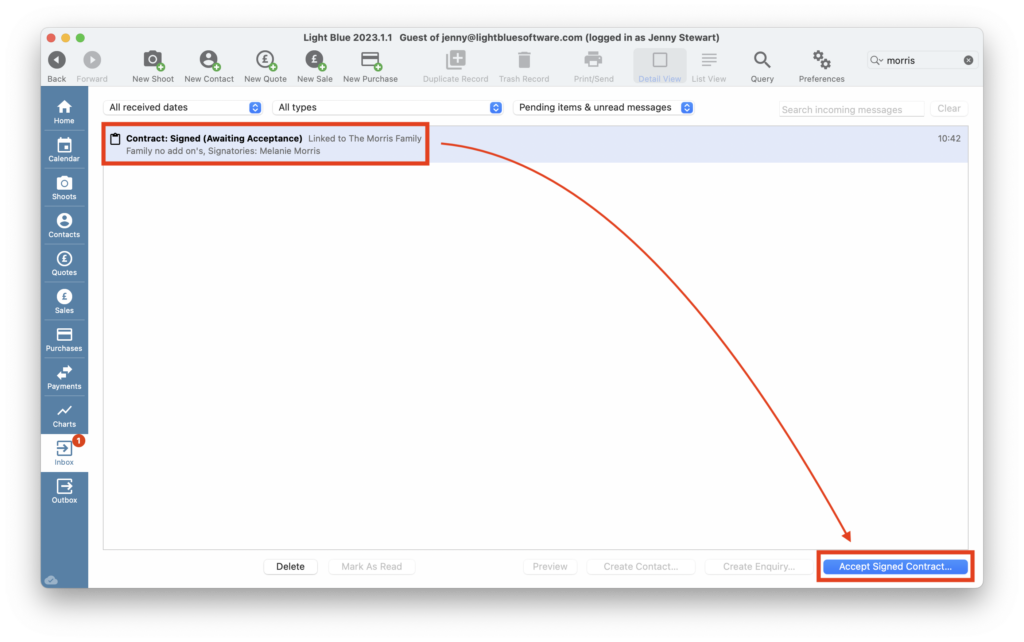
Accepting a Contract
- When a Contract is signed it will appear in your Light Blue Inbox.
- Simply click on the “Accept Signed Contract” button and the status of the Shoot Record will now change to Confirmed.
Contract optional extras
Light Blue Contracts can be fully tailored to how you run your business with lots of extra features available to use.
After you’ve added your contract wording to the Contract Template you have the option to also:
- Insert Mail-Merge Tags to personalise the Contract wording.
- Include Checkboxes to ensure your client reads and agrees to specific terms.
- Add a booking Form allowing you to ask them for extra information.
- Customise the emails sent at each stage of the process including whether reminders are sent or not.
- Set an expiry date for the contract and whether you require a drawn signature to confirm acceptance.
- Charge a booking/session fee which they pay online to complete their booking.
- Direct your clients to a ‘Thank you’ URL.
👉 Setting up all these options are covered in our Contract Template help article.
You can also offer your clients a selection of different quotes to choose from before they sign the Contract and pay the fee.
👉 Setting up this option is included in our in-depth article on Contracts.