How Can We Help?
Search for answers or browse our knowledge base.
Can't find the answer you need here? Contact our support team and we'll gladly help you.
🎥 Light Blue Contracts: creating Contract Templates
Creating Light Blue Contract Templates allows you to quickly pick and choose the correct Contract to send to your client to confirm their booking. Or even if all clients receive the same one it does need to be created as a Template before you can send it! NB. As with many Templates within Light Blue they’re a starting point and, if needed, can be easily amended before sending to your clients.
The short video goes through each of the different areas within a Contract Template; though if you prefer to learn by words and pictures, have a read of the help article instead!
Adding and formatting the contract wording
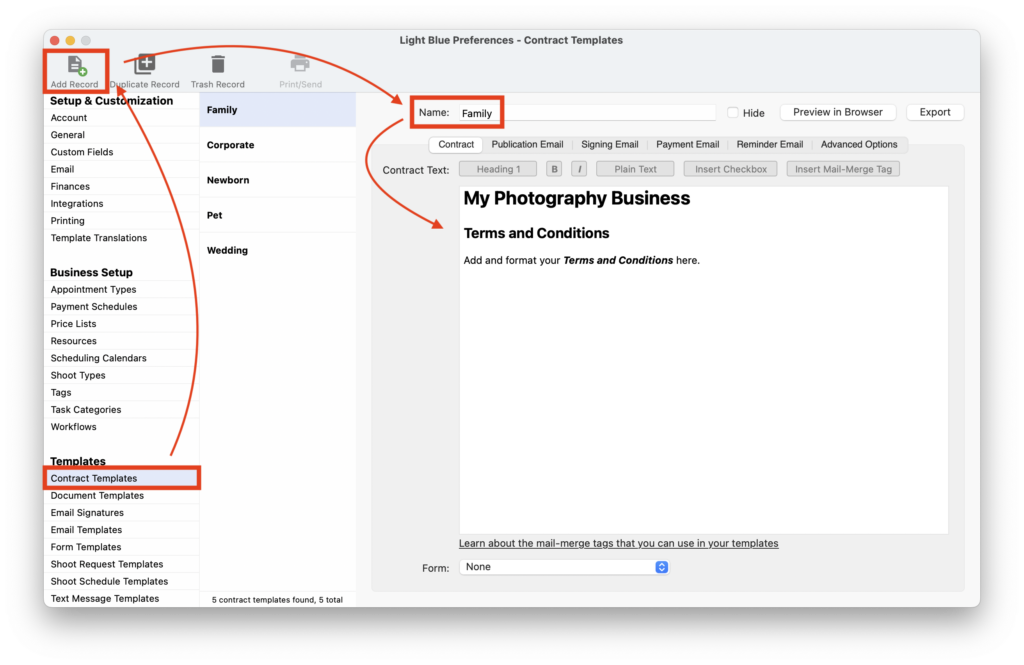
- In the Preference pane, click on “Contract Templates” in the “Templates” category.
- Click on the “Add Record” button and give it an appropriate name.
- Add your terms and conditions to the Contract tab. NB. These can easily be copied and pasted from elsewhere.
- Format the text as required using the different heading options and bold or italic font.
Inserting Mail-Merge Tags
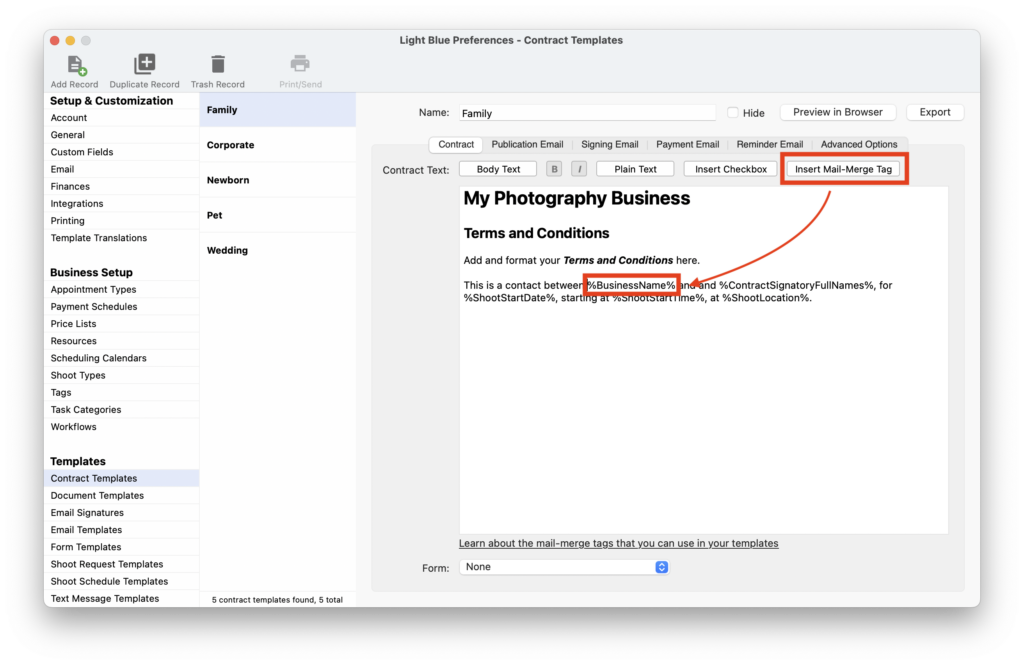
- Mail-Merge Tags are a great way to personalise your Contracts and are easily added by clicking where you want them to go In the contract text.
- Then click the “Insert Mail-Merge Tag” button and choose the required Contract, Shoot or Contact Tag. 👉 This help article covers all the different Mail-Merge Tags available within Light Blue.
Inserting Checkboxes
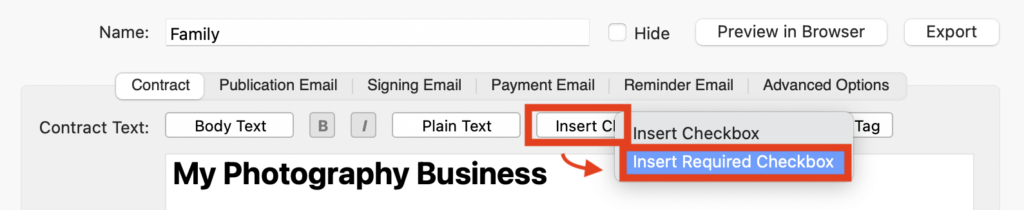
- In the contract text, click where you want the Checkbox to be inserted.
- Click the “Insert Checkbox” button and from the drop-down menu choose which Checkbox you want. NB. Required Checkboxes must be agreed to and checked by your client before they can sign the Contract.
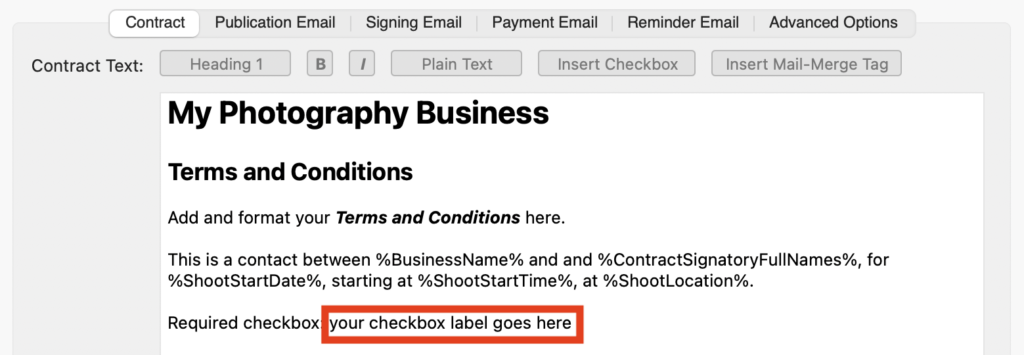
- Overwrite the ‘your checkbox label goes here’ text with your chosen text. You can use this as a confirmation checkbox for a particular term that you want to ensure your client has read, such as ‘I confirm I have read and agree to the cancellation terms’. Or they can be used as an agreement checkbox such as ‘Tick here to agree to social media use of images’, though make sure this is not a Required Checkbox!
Adding a Form
- If you need to gather extra information from your client before they sign their Contract, simply click on the “Form:” field at the bottom of the Contract tab and choose the appropriate Form from the Form Templates you’ve already set up in Light Blue. 👉 If you’d like some help with Form Templates read this article.

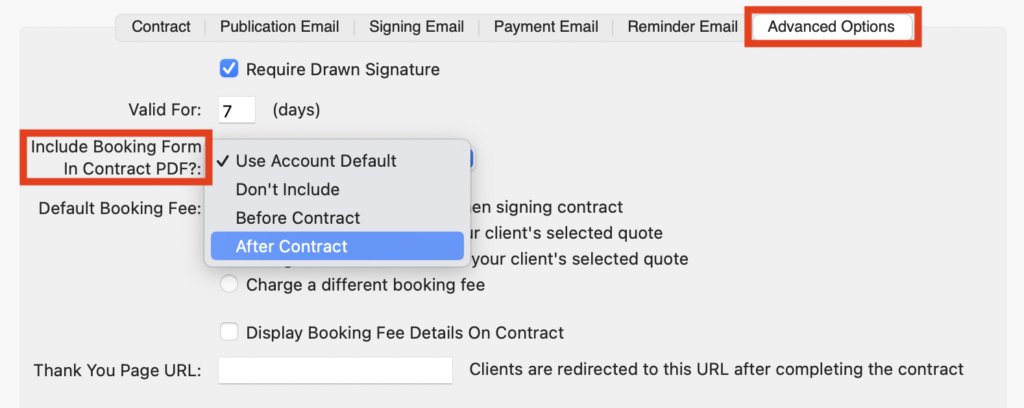
- You can also choose whether the Form is included, and where, in the Contract PDF in the Advanced Options tab.
Email Templates including Reminders
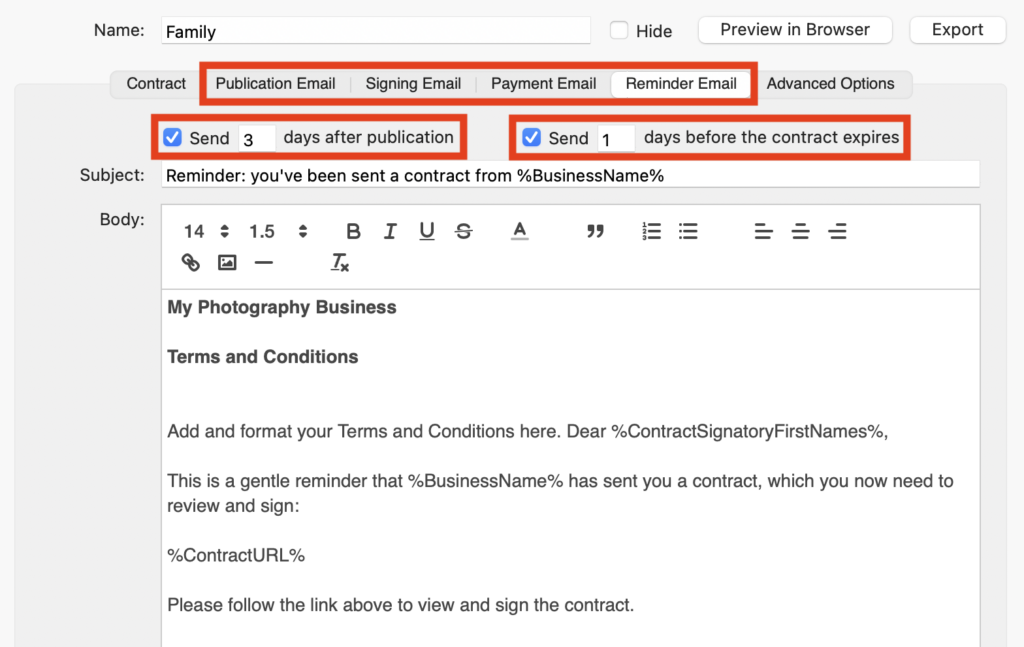
- There are four emails that you can choose to send (or not!) to your client throughout the Contract process;
- Publication Email sent when the Contract is published.
- Signing Email sent when it’s been signed and which includes a PDF of the Contract.
- Payment Email sent when the booking fee has been paid.
- Reminder Emails sent if the Contract has not been signed within a particular time frame.
- Simply click on the appropriate email Tab and check/uncheck whether the email is sent/not sent and if needed, amend its wording.
- In the Reminder Email tab, you have the option to send a couple of reminders; a certain number of days after the Contract is published and a certain number of days before it expires.
Requesting a drawn signature
- In the Advanced Options tab you can choose whether you want your clients to draw their signature as well as type their name to sign the contract; simply check the “Require Drawn Signature” box.

Setting the expiry date
- In the Advanced Options tab you can also specify how long the Contract is available for; simply enter the number of days before it’ll expire.

Adding a Default Booking Fee
- In the Advanced Options tab there are various options for the Default Booking Fee charged; simply check the box for the option you want to use for this Contract Template and whether you want to display the details on the Contract. 👉 NB. Quotes are added to a Contract as it’s sent; this article explains how this works.

Thank you page URL
- Sometimes it can be handy to direct clients to a specific URL on your website once they’ve signed their Contract; perhaps to share some information about what to wear for their session or other FAQs. Just enter the URL into the “Thank you Page URL:” field.
