Search for answers or browse our knowledge base.
Can't find the answer you need here? Contact our support team and we'll gladly help you.
Setting up and using Price Lists
Light Blue Price Lists allow you to add items to your quotes and sales in just a few clicks of your mouse.
You can create a single Price List, or create several for the different types of work you do, or the different types of products you offer. For example some businesses may have ‘Weddings’, ‘Portraits’, and ‘Corporate’ Price Lists and others may have ‘Session fees’, ‘Wall art’, and ‘Albums’ Price Lists if their work is similar but offer lots of different products.
Setting up a Price List
There are a few example Price Lists already set up in Light Blue it’s very easy to either edit these or create your own.
- In Preferences head to “Price Lists” in the “Business Setup” section.
- Either edit an existing one by double-clicking on the appropriate items or click the “Add Record” button. ⭐️ Top tip: You can use the “Duplicate Record” button if there’s a similar Price List that only needs minor amends.
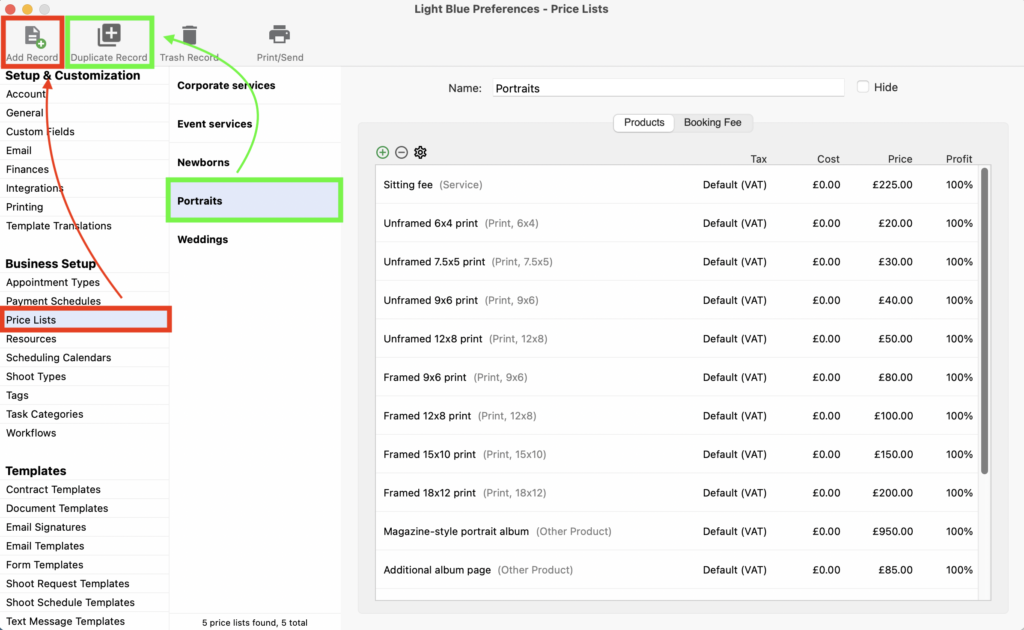
- Add a new item to your Price List by clicking the green “+” button, or edit an existing item by double-clicking it.

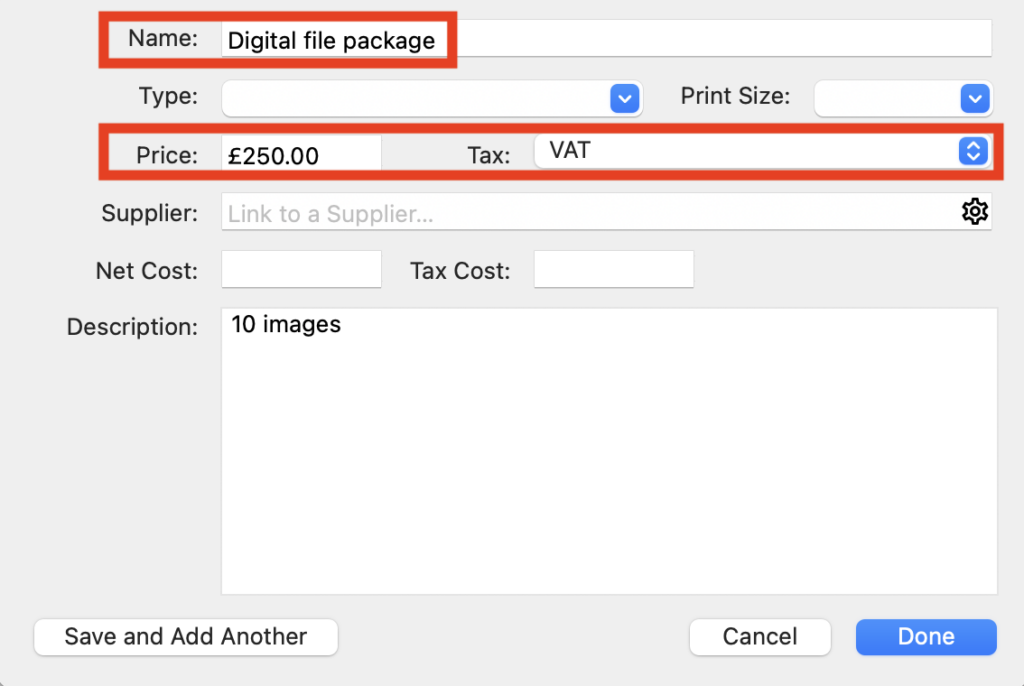
- At the minimum, give the item a name, add a price and check/change the default tax rate if required. 👉 If you’ve not already set up your sales tax and defaults head on over to this article.
- You can also complete the other fields if needed; completing the Description field allows you to add more details about the item and entering a cost will enable a profit calculation for the quote or sale. NB. This cost field is not used anywhere else in Light Blue.
Setting the default Price List/s
You can set an overall default Price List in the “General” section of “Preferences” in the Shoots tab.
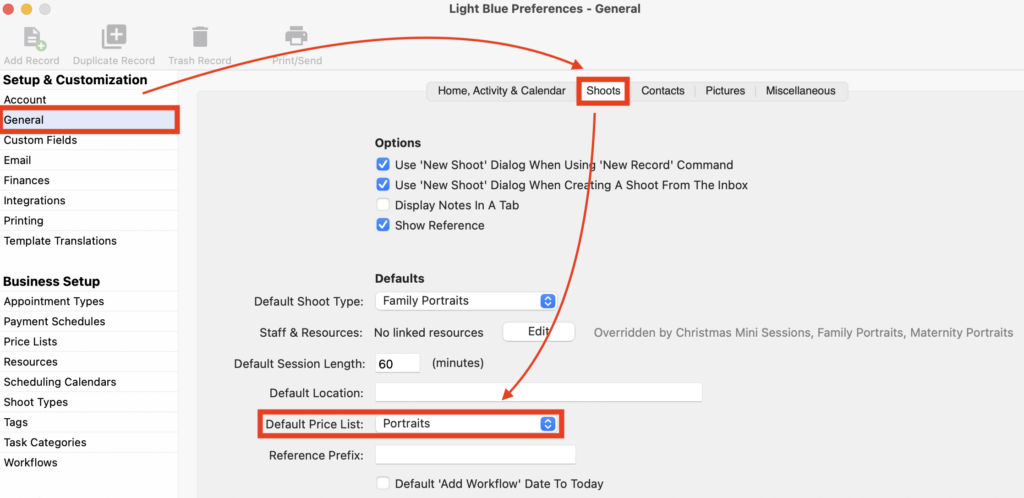
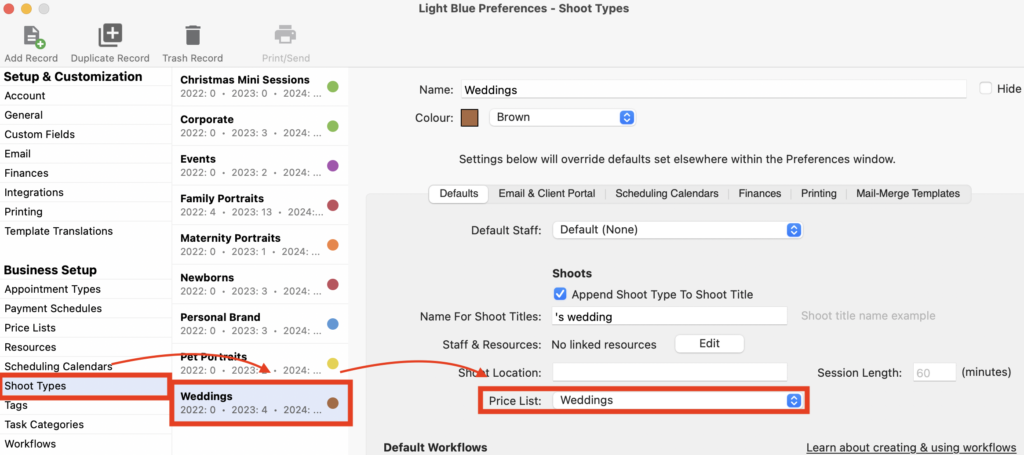
And if required, you can then amend the default Price List for each of your Shoot Types in the “Shoot Types” section of Preferences.
Using a Price List
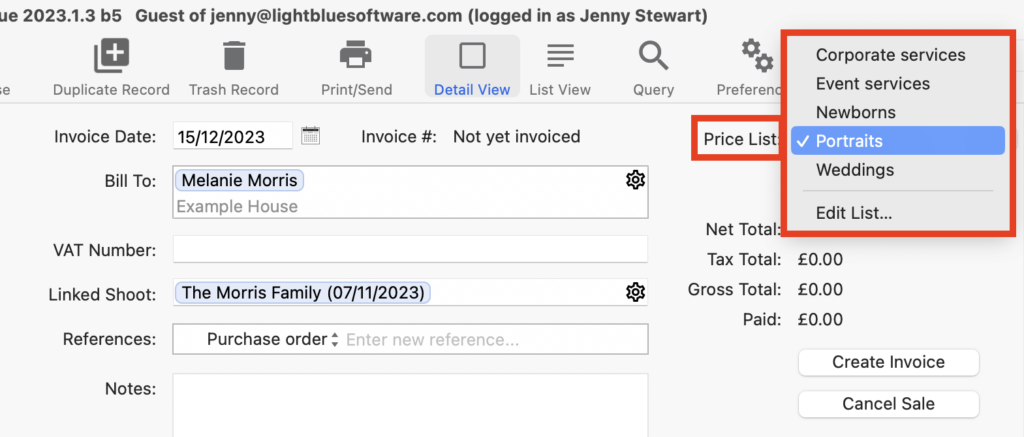
- When you create a quote or sale the default Price List will automatically be assigned to it, though if needed you can change this using the drop-down menu.
- In the “Items” tab click on the green “+” button to add an item.

- Start to type the name of the item you want to add and Light blue will display matching items from the Price List; click on the one you want and it will be added to your quote/sale. NB. If you click on the cog you’ll see all the items in your Price List.

- Make any changes if needed; remember the Price List is just a starting point you can change as much, or as little, as you like!
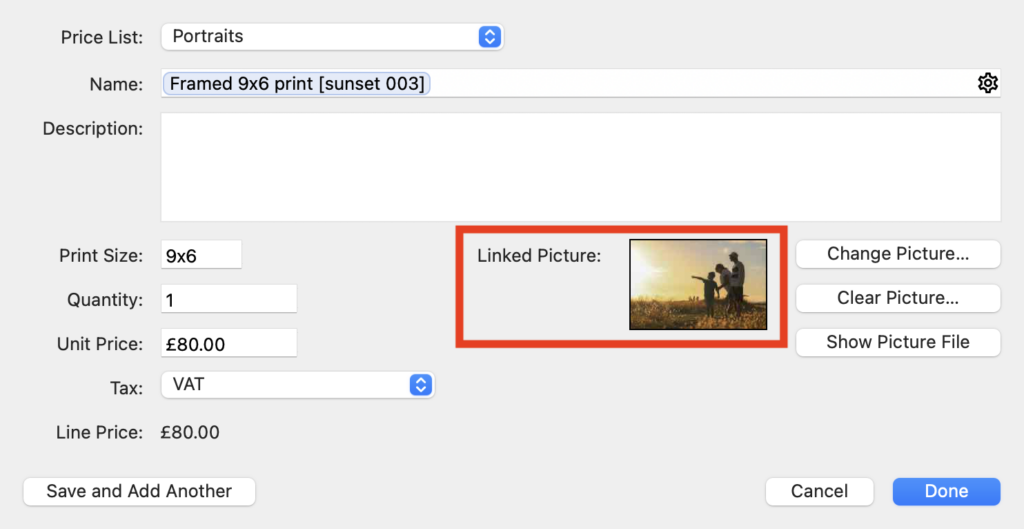
- And if the item is for a particular product it’s handy to add the actual picture to confirm your client’s order. 👉 If you’re not sure how to link images to Shoot Records have a read of this article.