How Can We Help?
Search for answers or browse our knowledge base.
Can't find the answer you need here? Contact our support team and we'll gladly help you.
🎥 Linking images to Shoot Records
Light Blue handily allows you to link images to Shoot Records; ideal for confirming clients’ orders, having a visual reference of those orders and also keeping track of where your images are stored.
To learn more about how to do this watch the video below; though if you prefer to learn by words and pictures, have a read of the help article instead!
Creating folders in the Shoot Record
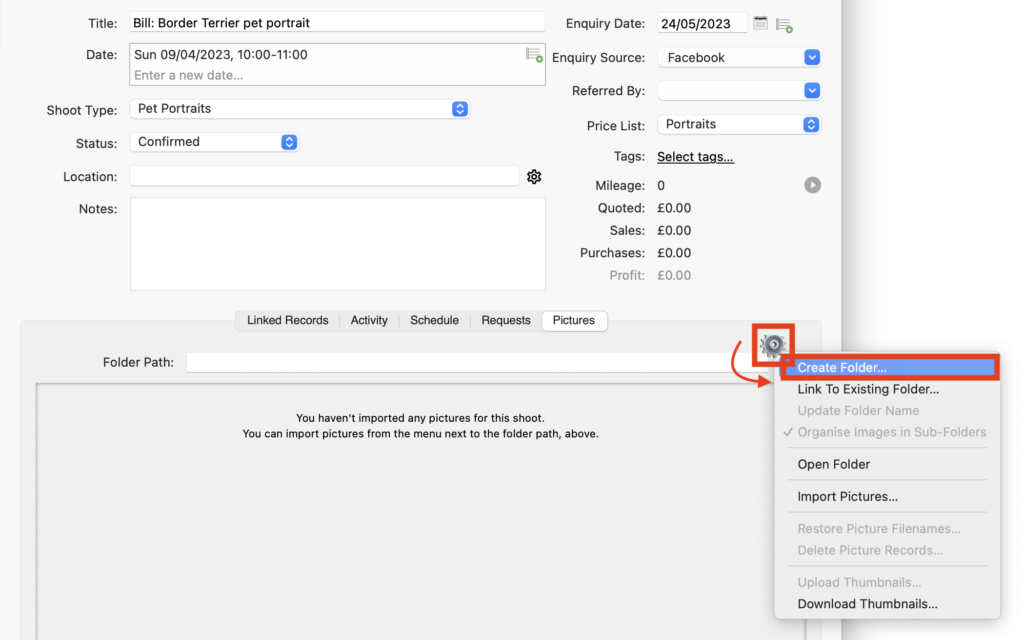
- To link images to a Shoot Record the first thing to do is create a folder for them; in the Picture tab of the Shoot Record, click on the cog on the right-hand side and choose “Create Folder…” from the drop-down menu and then decide where you’d like to put that folder on your computer.
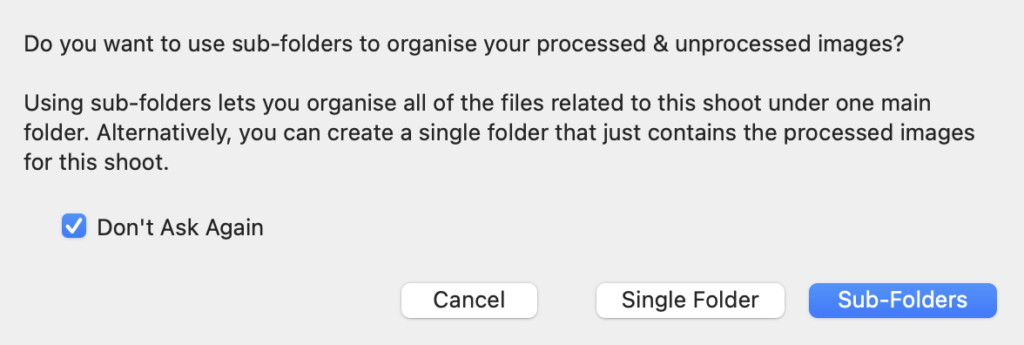
- You’ll be given a couple of options when you create this folder; either “Single Folder” which is ideal if you only want to link your finished processed images or “Sub-Folders” if you’d prefer to link both the unprocessed and processed versions.
- And if you want Light Blue to remember your choice check the “Don’t Ask Again” box.
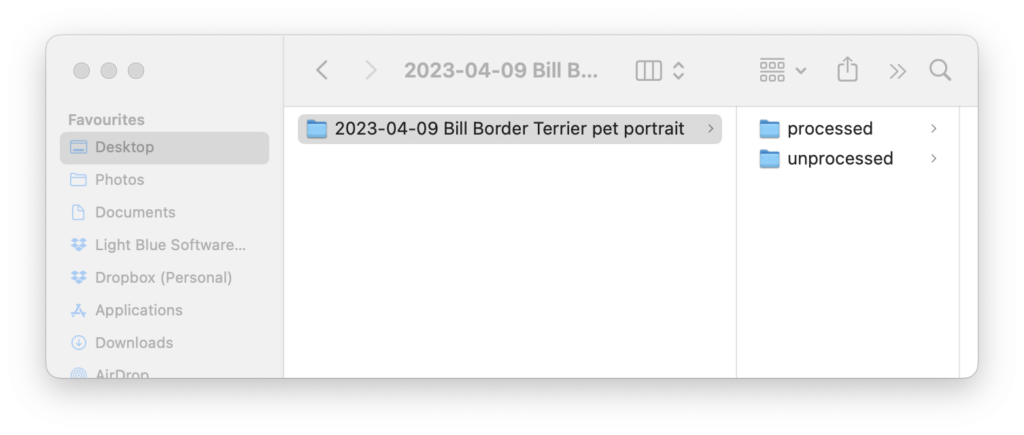
- The folder/s will now be created.
Changing the folder structure
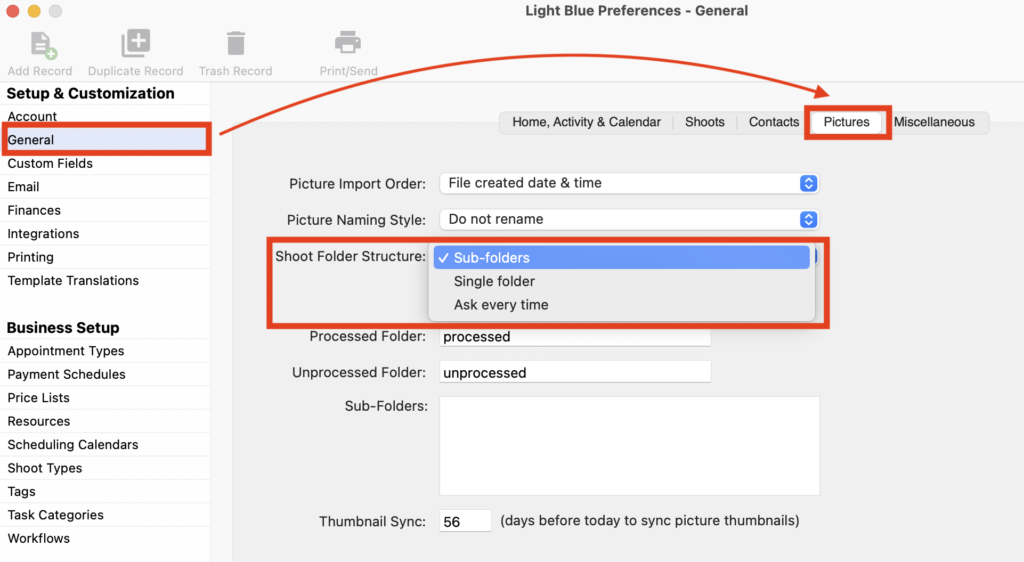
- If you checked the “Don’t Ask Again” box when creating your folders for the first time and decide you’d like to change it for any new additions, go to the Pictures tab in the General section of Preferences and change the “Shoot Folder Structure:” drop-down accordingly.
- There are a few other options you can change in this tab though the majority of our customers leave them as they are!
Importing the images to the Shoot Record
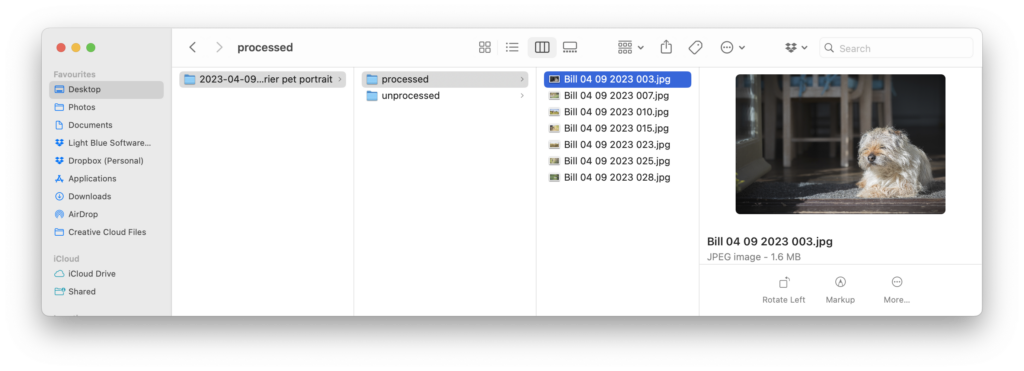
- If you created sub-folders, add your unprocessed images to the ‘unprocessed’ folder and the processed ones to the ‘processed’ folder. Or if you’ve just the single folder add the processed images to the main folder; in the screenshot below a few images have been added to the ‘processed’ folder.
- Back in Light Blue, in the Picture tab of the Shoot Record you’ll now see the “Folder Path:” completed with the location of the image folder/s; click on the cog on the right-hand side and choose “Import Pictures” from the drop-down menu.
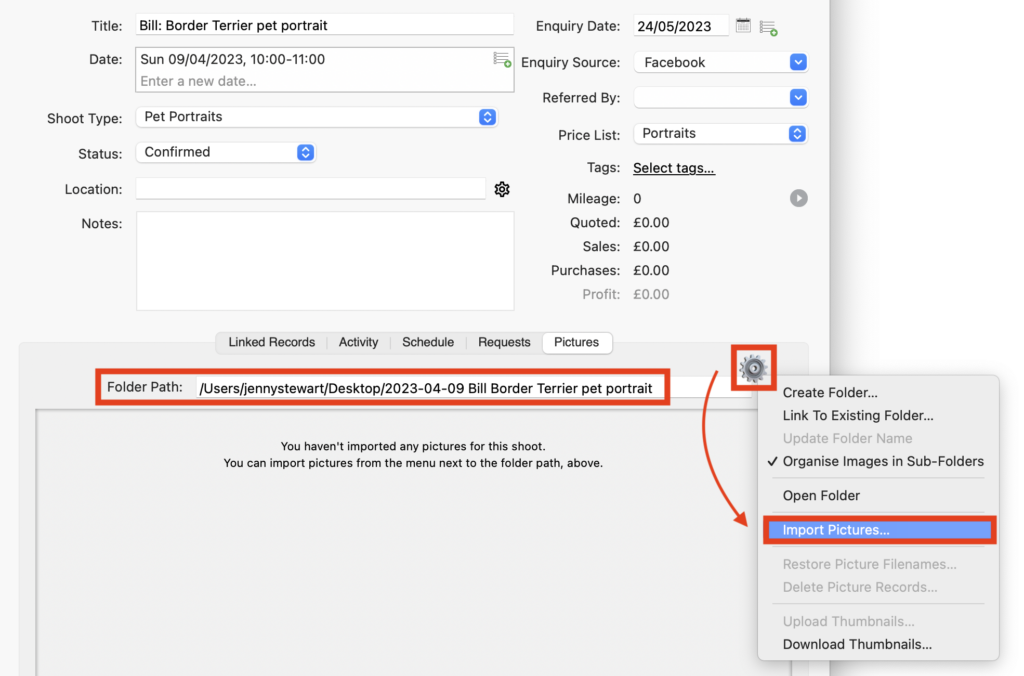
- Thumbnails of your images are then automatically generated and linked to the Shoot Record as a form of contact sheet; if you’d like to view larger versions of the thumbnails simply drag the slider at the bottom. These images will now be synced across any of your devices that the desktop app installed on them.

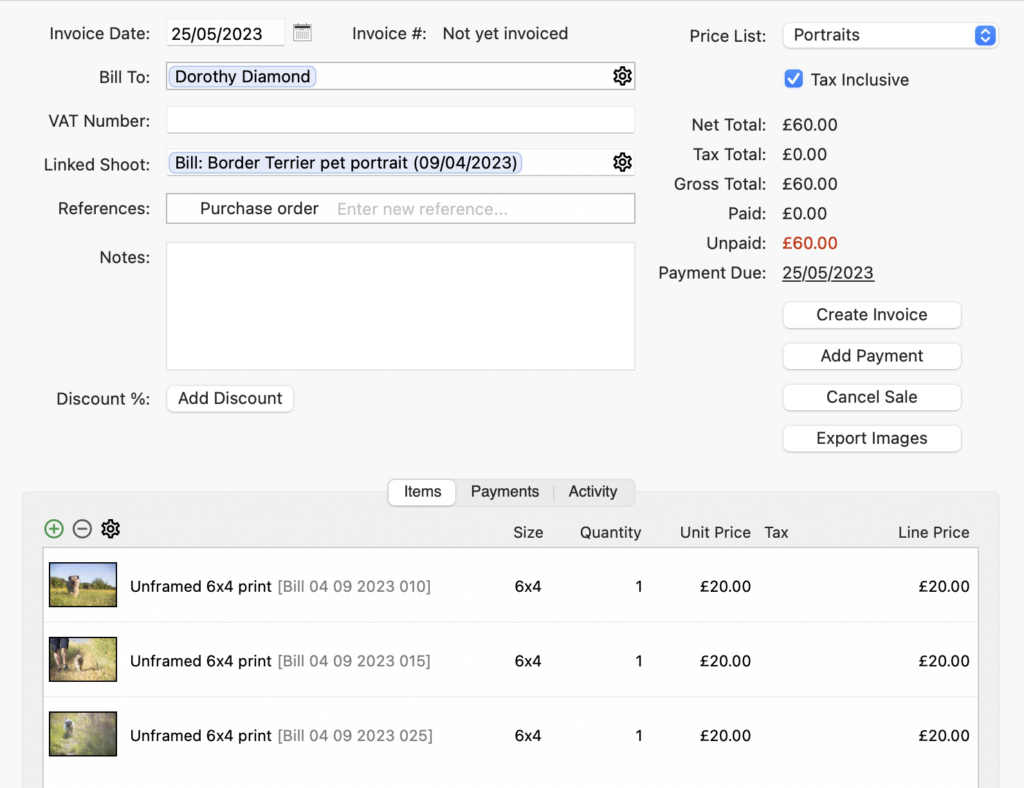
Adding images to a Sale Record
Once you’ve linked images to a Shoot Record it’s possible to then add them to a Sale Record; ideal to confirm your client’s image choices for their order. NB. This is an optional extra; you don’t have to add them to create the Sale.
- As you add an Item to the Sale Record simply click “Link Picture”.
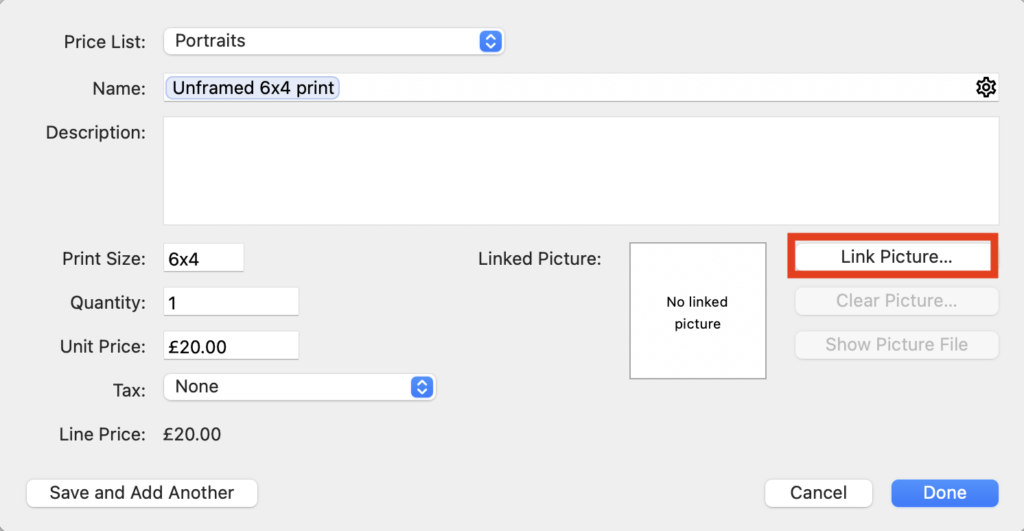
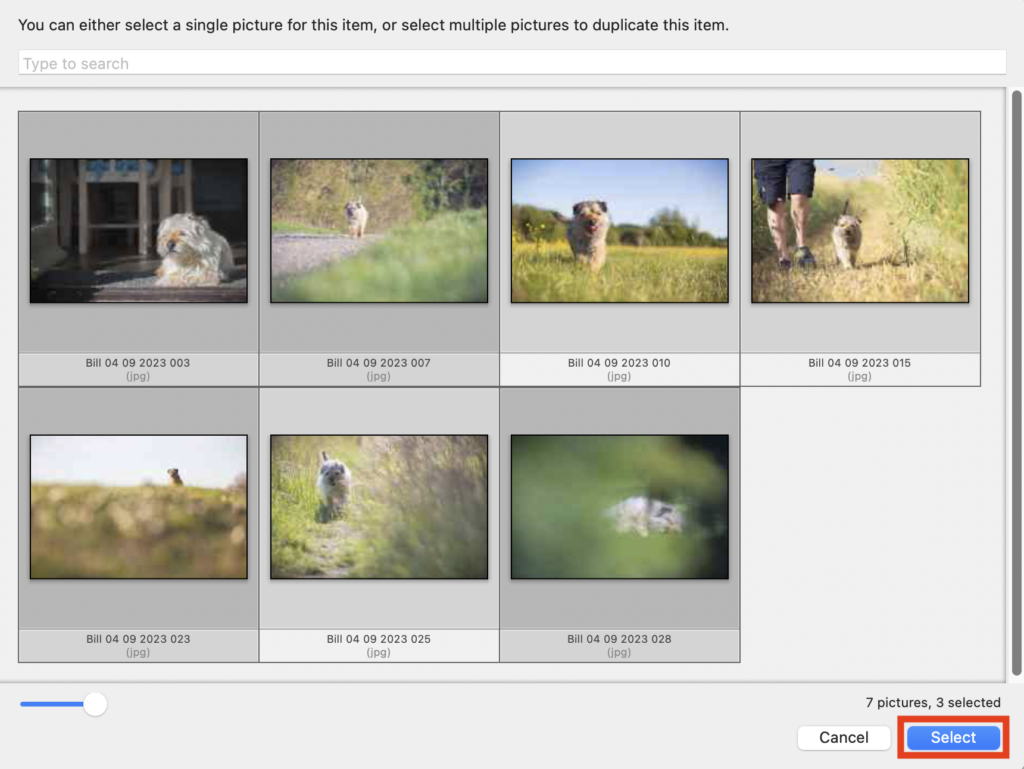
- Choose the image/s for that particular Item and click “Select”.
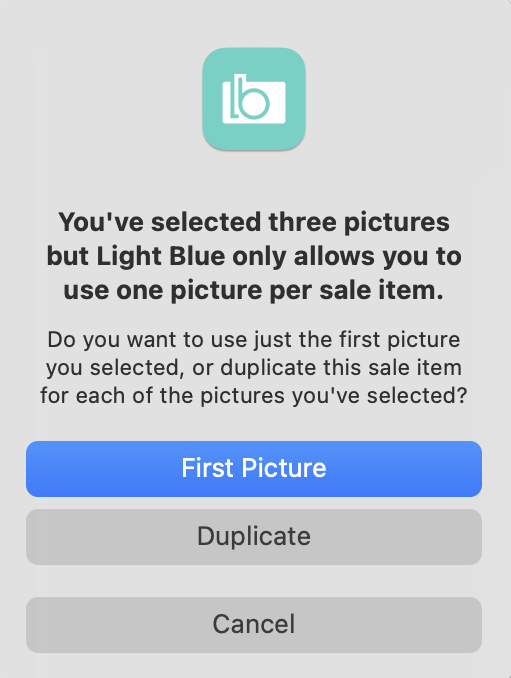
- If you’ve chosen more than one image you’ll be asked whether you want to duplicate the Sale Item for each image or not.
- The image thumbnail will now appear next to each Item in the Sale Record. Repeat as necessary to any more Items to the Sale Record.