Search for answers or browse our knowledge base.
Can't find the answer you need here? Contact our support team and we'll gladly help you.
🎥 Grouping contacts together
Sometimes you’ll have groups of people who come for a shoot, such as families. It’s useful to be able to add them all to a shoot as separate contacts so that you can keep track of their details (including contact details and birthdays) separately, but to group them together for communication purposes.
Grouping contacts
When you add a new contact to a shoot, you can use the “New Contact” dialog to add a whole group of contacts at the same time:
- Create a new shoot by clicking on the “New Shoot” button,
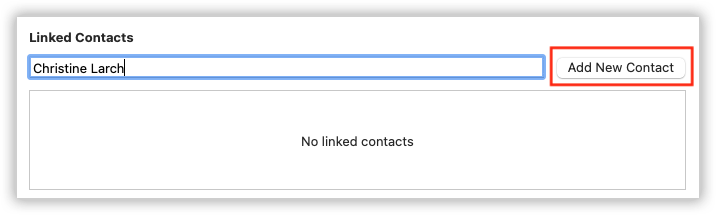
- Start by typing the name of the main contact in the “Linked Contacts” box of the new shoot window, then click “Add Contact”.
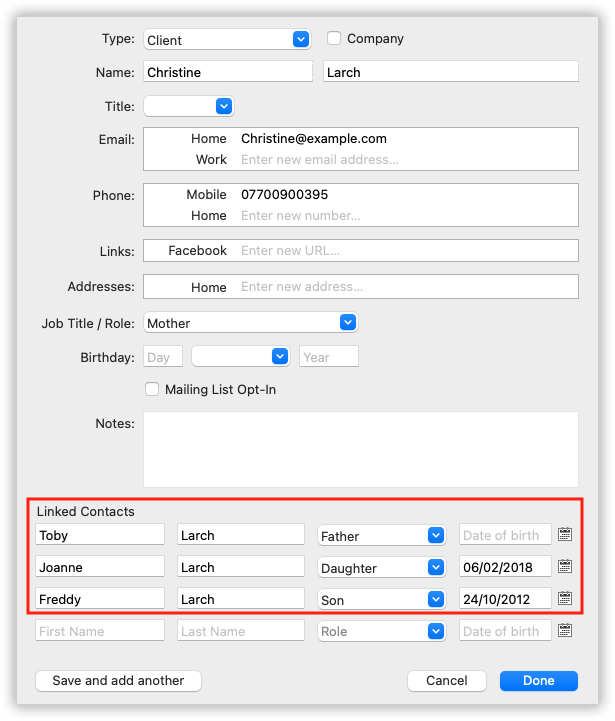
- This will open the new contact window where you can enter more details about the main contact.
- Before you click the “Done” button, you can add extra contacts by filling out their names in the “Linked Contacts” section at the bottom of the “New Contact” dialog. When you’re doing this, it’s a good idea to use the “Role” field to record each person’s relationship to the group. e.g. “Mother”, “Daughter”, “Bride”, “Parter”, etc.
When you click the “Done” button, all of the contacts will be linked to the shoot and automatically grouped together.
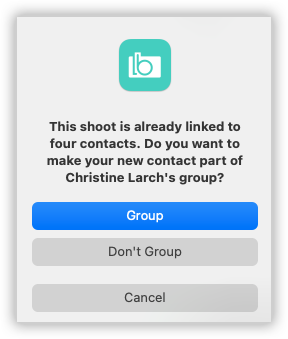
If you add any more contacts to a shoot that already has a contact linked to it, Light Blue will ask you if you want to group those contacts to the existing ones.
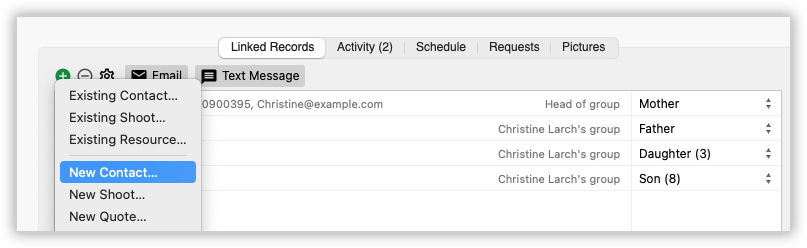
To add more contacts to a shoot, go to the “Linked Records” panel of the shoot record, then click on the green plus and choose to add a new contact.
Working with grouped contacts
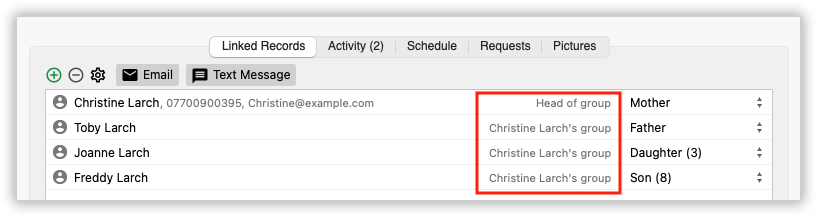
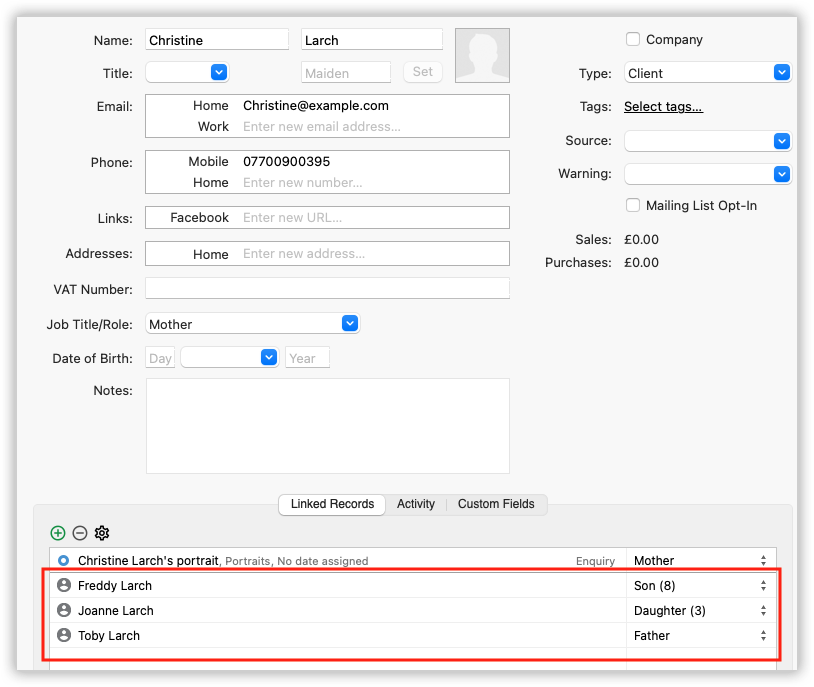
When you open up the contact detail view for someone who’s part of a group (e.g. by double-clicking on one of the contacts linked to a shoot, or by finding them in the “Contacts” section), their “Linked Records” panel will show all of their linked contacts.
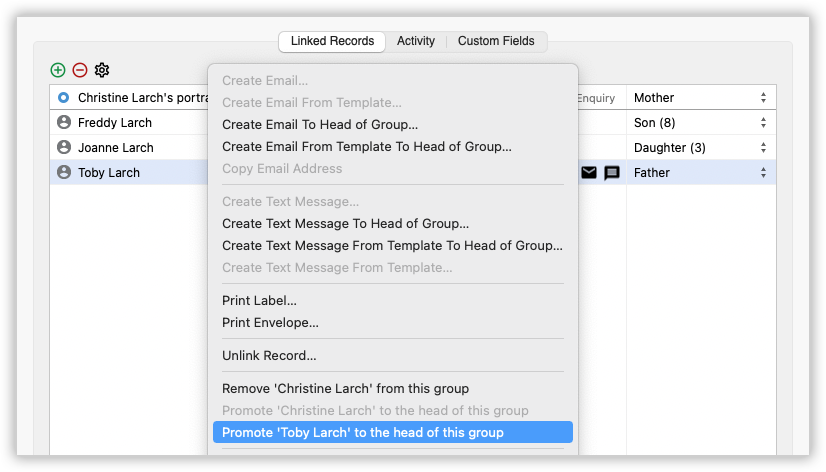
Each group of contacts has one contact that is the head of the group. This is the person that you usually deal with when you’re working with this group. If you want to change the head of the group, right-click on the person that you want to make the head of the group and select the “Promote ‘X’ to the head of this group” option.
When you’re working with the members of a group, you can use the head of the group’s contact details. e.g. when you’re looking at a member of a group’s details in the “Contacts” section, you’ll see the head of the group’s email address and phone number as well as any contact details you’ve set up for that specific contact.
You can also use the head of a group’s details when you’re using Light Blue’s mail-merge tags. e.g. using %GroupHead:ContactFirstName% will give you the first name of the head of this contact’s group.