Search for answers or browse our knowledge base.
Can't find the answer you need here? Contact our support team and we'll gladly help you.
Adding new contacts
You should make a new contact record for every person or company you deal with – be they clients, potential clients, leads, or suppliers. It’s also a very good idea to make one contact record per person, and not to combine people into one contact record, for example with a first name of Jack and Jill. It just helps separate things out later.
Adding contacts to shoots
Most of the time you’re going to be adding contacts because you’re doing a shoot for them. In that case, it’s easier to add a contact from the shoot record.
You can add a contact when you’re adding a new shoot by typing their name in the “Linked Contacts” box. If the contact is someone you’ve worked with before then Light Blue will offer to link their existing contact record.
If you’re adding someone new, you can click the “Add New Contact” button. That will open a new window where are you can quickly add details about the contacts who are linked to the shoot.
If you want to add another contact to an existing shoot record, go to the “Linked Records” panel of the shoot and click on the green plus button and choose to add either a new or existing contact.
Adding contacts that aren’t linked to shoots
Sometimes, though, you might want to make a new contact who is not linked to a shoot.
First click on the “New Contact” button in the toolbar.
You can enter their information, including contact details, and date of birth if you know it. The date of birth is used to pull out contacts with birthdays this month, which is really handy for when you’re wanting to send marketing letters to the parents of children.
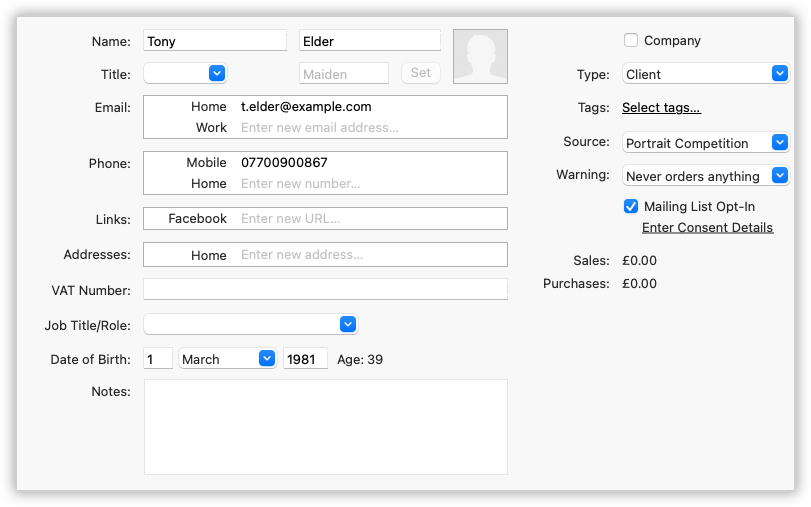
If you want, you can set the source for the contact; it lets you track where contact records came from.
The “Warning” field is for your internal use, and lets you put a note against a contact’s record as a reminder for yourself.
Finally, the mailing list field lets you track which contacts have allowed you to send marketing material to them. You can set the default for this field on the “Contacts” tab of the “General” section of the Preferences pane.