Search for answers or browse our knowledge base.
Can't find the answer you need here? Contact our support team and we'll gladly help you.
🎥 Adding meetings & appointments
Appointments are for when you want to keep track of meetings with your clients; for example for viewing sessions after a shoot, or pre-shoot consultations.
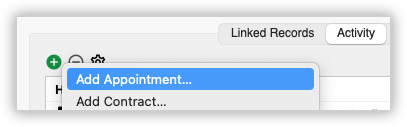
You can add Appointments in the Activity panel of any Record in Light Blue choosing the date and time and adding any other relevant information.
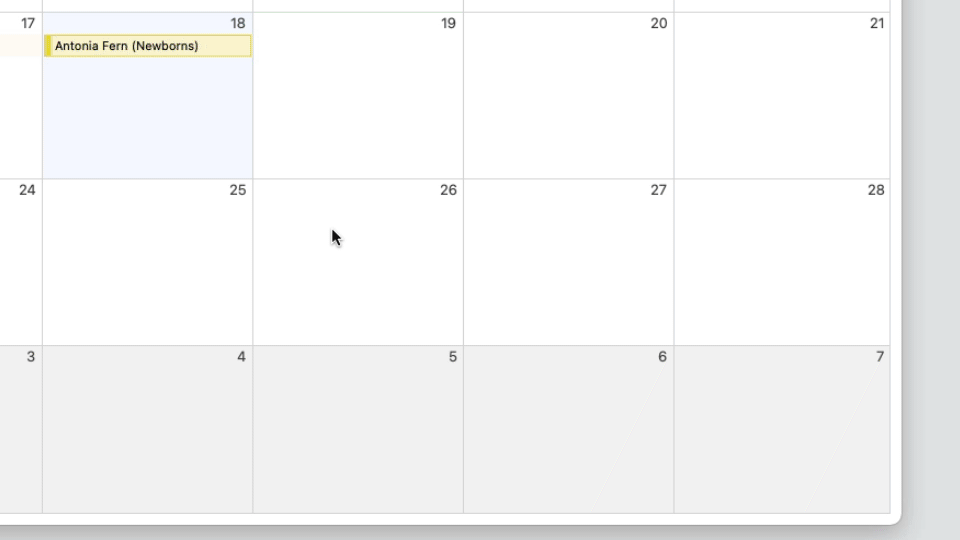
Appointments can also be added from the Calendar view by double or right-clicking on a date, then choosing “Create Appointment”. You’ll be prompted to link the Appointment to an existing Shoot or Contact Record; most of the time it’s likely you’ll want to link the Appointment to a Shoot Record. You can also add a Zoom link for any online meetings. 👉 This article explains how to link your Light Blue and Zoom accounts and create a Zoom meeting for your appointments. And if needed, you can also rearrange your Appointments in the Calendar view; simply drag to the new date and time.
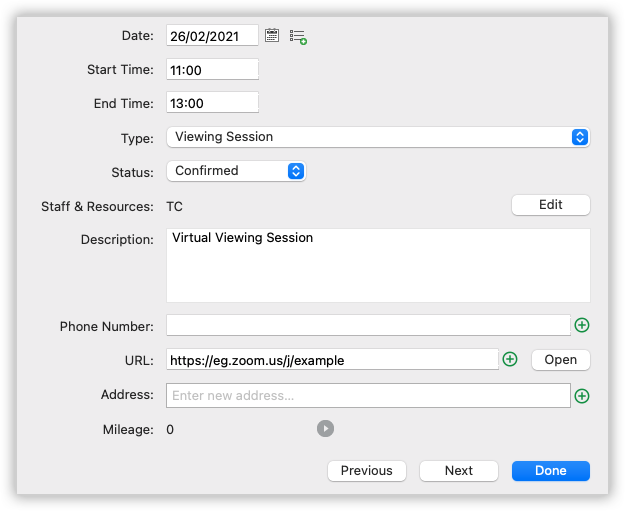
Appointments can have different Appointment Types which you can create in the “Appointment Type” section of Preferences. These are helpful because they let you categorise your Appointments. You can set some defaults, like their duration and any Workflows based around them. You can also colour code them so it’s easy to see in the Calendar view and in the Activity panel what Appointment Type it is. 👉 For more help on Workflows head on over to this help article.
Appointments can also have different statuses. If you’ve only pencilled in a meeting, simply set its status to Unconfirmed. Then, when it’s confirmed, you can set the status to Confirmed. You can also use the Calendar view to amend Appointments; simply right-click on the Appointment to change its status.